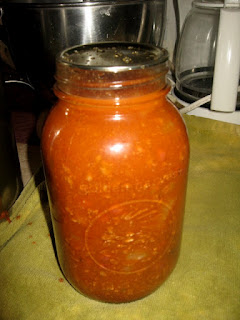
First is the Chilli.....
First thing to do is get your jars ready...Wash them in Warm Soapy Water
 |
| Then Put them on a cookie sheet in the oven at 225 degrees to sterilize them |
Next ...get your lids ready to sterilize....In a small saucepan boil some water and then turn it to simmering and add your lids (Do not boil your lids)
You will also need to put your rings in some hot soapy water and get your other supplies gathered
You will need a food funnel, a jar lifter, a ring lifter (my hubby made mine) and some vinegar in a bowl to wipe around the tops of the jars so that the lids will seal better.
The All American has a pressure gauge and the lid screws down so it makes it impossible to blow up on you... I used to be terrified of my canner blowing up so that's why I love this one. I also like my presto because you don't have to keep as close of an eye on it because it has the rocker instead of a pressure gauge. You will want to have your canner on the stove filled with 2 to 3 quarts of water getting hot while you are packing your jars. You don't want the water to go up no more than half way up on your jars... if it does then you will need to dip some of the water out.
Next get a sterilized jar from the oven and pour the food through the funnel so that it doesn't get on the tops of your jars and I filled it to 1 inch from the top.
After you have filled your jars then take a wooden spoon and stick down in and get the air bubbles out
After that you will need to wipe the tops of your jars with the vinegar...
Then put your lids on
Next add your rings and tighten them up pretty tight.
Next start filling the canner with your full jars of food.
After you have processed your chilli for 90 minutes quarts or 75 minutes pints let the cooker release it's pressure on it's own and then remove the lid. Then start removing your jars with the jar lifter onto a towel.
And now you have canned Chilli
After it has cooled...remove the rings and wipe clean and dry the jar. I then add the date and the contents of the food in the jar on top with a sharpie pen.


No comments:
Post a Comment