"Our Simple Life"
We live in a very rural area in Kentucky and love the simple life. I wanted to start a blog so I could share the things that go on in our exciting yet simple life and pass along some tips that will hopefully help others along their self sufficient journey.
Apr 9, 2014
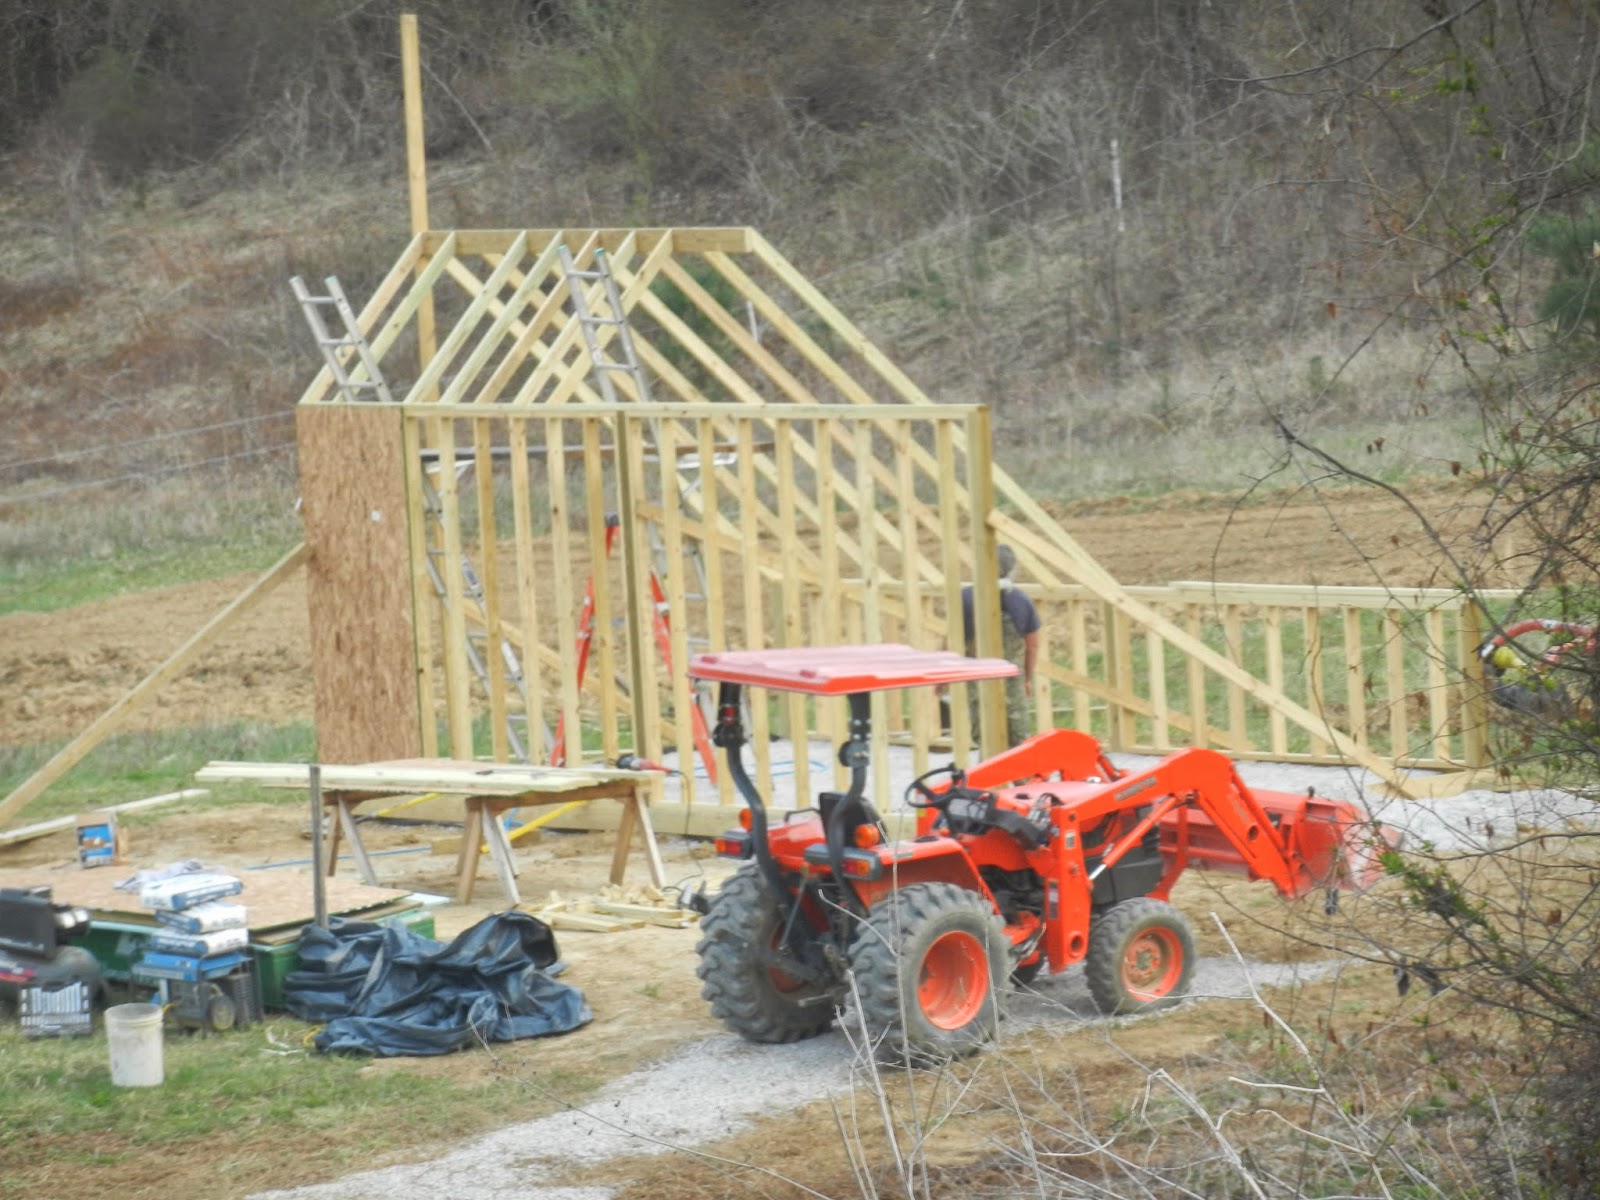
Our New Passive Solar Green House under construction
We have been wanting a green house here on our homestead for years so we decided that this was the time to go forward with it... and it coming along very quickly.. My Hubby is building it all by himself and with a little help from me.... which is me handing him boards and such... This green house will be the new center piece of our self sufficient lifestyle, providing us with a place to grow rabbits, mushrooms, veggies, and herbs. It will contain a shed that will also provide us with a new heated milking room and a processing kitchen on one side to process vegetables, for canning and cheese making. . This green house will not need additional heat throughout the winter and will provide it's own heat and it's own electricity via solar panels. If you would like to see more updates on our green house (I am slow about updating my blog) facebook seems easier... here is a link to my page on facebook... https://www.facebook.com/media/set/?set=a.768904499787645.1073741836.419904478020984&type=1


Apr 2, 2014
Back to Blogging Again..
Hello Friends! I know I haven't posted in awhile but we had a major set back last year when my Father-in-law passed away..It all changed overnight... The quiet simple life we once knew .ceased to exist. My Father-in-law had cancer and my Mother-in-law is very sick so we are now caring for her. We all couldn't live in our little cabin so now we are living in the big house at the front of our farm... My Mother-in-law also has a flower shop in town with an apartment and also a convenient store/gas station for use to tend to ... We ran the flower shop for several months but we couldn't stand living in the city...even if it is a very small city... it was not the life for us... so we decided to close the flower shop and we will be selling the convenient store and the flower shop hopefully by summer.. I still say the more "stuff" you have the more problems you have... and now we have a lot more "stuff" to attend to. Along with caring for my Mother-in-law we now have both of our lives to take care of... including taxes and property etc.... which turned our simple life into not such a simple life..but we are about to get things back in order...although we can't live in our little cabin at the present time it is still on our farm and we can stay there a lot until at least dark,...lol.. my Mother-in-law is super scared of the dark.. We are all adjusting well to the new situation and all is good.
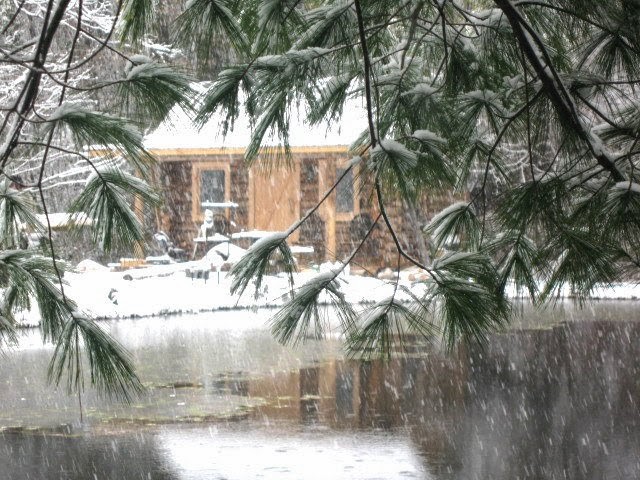
We Live here now and all is good
but we hope to someday get back to this
Even though we do live in a bigger house now and things are different...we still live a simpler lifestyle than most... I make most everything from scratch...we grow most of own food and can lots of jars of food for our pantry to last the winter. We have meat rabbits and we hunt deer for our meat.. we have a milk cow for milk and dairy products and we forage for mushrooms etc.
We are now in the process of building a green house so that we can extend our growing season. Things are getting back on track slowly but surely.
Feb 6, 2013
Well, I know it's been a long time since I've posted but I am gonna try and get back to doing this...lol... So we are going on a little trip tomorrow to take my son to the doctor.. It's about 2 hours away so we thought we would pack our lunch... Call me weird but I don't like to eat out... We try not to eat processed foods (but sometimes we do) so I made some chicken salad, potato salad, a cheese ball, homemade bread and some granola bars to take on our trip. Here is the recipe for the granola bars... I have had some facebook fans ask for it so thought I'd share.
No Bake Granola Bars
2 cups oats
2 1/2 cups rice krispies cereal
1/2 cup raisins
1/3 cup corn syrup
1/4 cup honey
1/2 cup brown sugar
1/2 cup peanut butter
1 tsp vanilla
1/4 cup chocolate chips ( I use milk chocolate)
Combine oats, rice krispies, and raisins in large bowl. Heat corn syrup, honey and brown sugar in saucepan stirring constantly till boiling.. Boil for a couple of minutes, remove from heat and add peanut butter and vanilla.. Pour on top of oat mixture in the bowl and mix thoroughly. Pour into a 13 x 9 cake pan, add chocolate chips and press out into pan with wax paper. Cut into bars and they're ready to eat. Enjoy!
Apr 28, 2012
Homemade Cinnamon Rolls
Homemade Cinnamon Rolls
Ingredients:
- 1 1/4 cups milk
- 1/3 cup vegetable oil or 1/3 cup canola
- 1/4-1/3 cup sugar
- 1 teaspoon salt
- 3 3/4 cups all purpose flour
- 2 1/4 teaspoons yeast ( I use fleischman's yeast)
Directions:
- Place all ingredients in order recommended by your bread machine manufacturer if you are using a bread machine... ( I use to use a bread machine but now I do it mostly by hand).
- Select dough cycle and start machine.
- I preheat my oven to 100°F and turn off.
- When dough cycle is complete remove from machine and proceed to roll out into a rectangular piece of dough and then spread the filling onto the dough and roll up. Then slice into pieces. ( I use dental floss or a piece of thread to cut the pieces nicely.Filling
- 1/2 cup butter or margarine, softened( I use butter)
- 1 cup brown sugar
- 1/2 cup sugar
- 3 tablespoons cinnamon
After you have added your filling and cut it into pieces and place in a greased pan..( I use a really big iron skillet but you can use whatever you want to put them in) at this point put them in your preheated oven to let rise about 45 minutes to an hour and then bake at 350 degrees for about 20 to 25 minutes.Take out of oven and add icing and your ready to eat. Enjoy!
Icing
- 1 cup powdered sugar
- 2 -3 tablespoons milk , warmed
- 1 teaspoon vanilla
Sometimes I add about 4 oz. cream cheese to the icing mixture and it's wonderful!
Mar 9, 2012
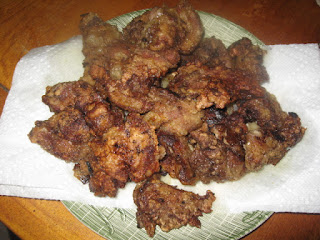
Fried Rabbit Livers.... Yumm...
Canning Venison/ Deer
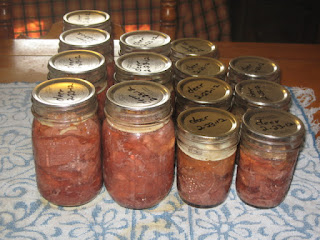
Okay, so I need room in my freezer...so I canned a lot of the deer...It is so-oooooo good canned anyway. I think I'll just keep the tenderloin in the freezer for grilling this summer and can everything else.
See the chilli canning post for the steps to beginning your canning.... and then prepare your deer meat by washing several times and I soaked it overnight in salt water as well.
Once you have your area prepped with the canning tools you can begin by adding your meat to the jars..
See the chilli canning post for the steps to beginning your canning.... and then prepare your deer meat by washing several times and I soaked it overnight in salt water as well.
Once you have your area prepped with the canning tools you can begin by adding your meat to the jars..
Canning Chilli
Okay, so I am running behind on my posts... Anyway.. before the big storm came I planned on doing a tutorial on canning... I canned chilli and some venison...I will show the venison in another post later...
First is the Chilli.....
First thing to do is get your jars ready...Wash them in Warm Soapy Water
Next ...get your lids ready to sterilize....In a small saucepan boil some water and then turn it to simmering and add your lids (Do not boil your lids)
You will also need to put your rings in some hot soapy water and get your other supplies gathered
You will also need a pressure canner . I have a presto and an All American... I like them both but when I want to can a bunch of smaller jars then I use my All American Canner as the presto will only hold one layer.
The All American has a pressure gauge and the lid screws down so it makes it impossible to blow up on you... I used to be terrified of my canner blowing up so that's why I love this one. I also like my presto because you don't have to keep as close of an eye on it because it has the rocker instead of a pressure gauge. You will want to have your canner on the stove filled with 2 to 3 quarts of water getting hot while you are packing your jars. You don't want the water to go up no more than half way up on your jars... if it does then you will need to dip some of the water out.
Next get a sterilized jar from the oven and pour the food through the funnel so that it doesn't get on the tops of your jars and I filled it to 1 inch from the top.
After you have filled your jars then take a wooden spoon and stick down in and get the air bubbles out
After that you will need to wipe the tops of your jars with the vinegar...
Then put your lids on
Next add your rings and tighten them up pretty tight.
Next start filling the canner with your full jars of food.
After you have processed your chilli for 90 minutes quarts or 75 minutes pints let the cooker release it's pressure on it's own and then remove the lid. Then start removing your jars with the jar lifter onto a towel.
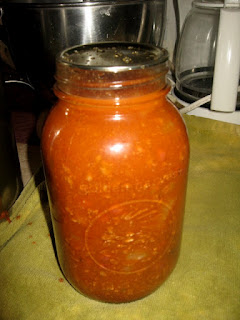
And now you have canned Chilli
After it has cooled...remove the rings and wipe clean and dry the jar. I then add the date and the contents of the food in the jar on top with a sharpie pen.
First is the Chilli.....
First thing to do is get your jars ready...Wash them in Warm Soapy Water
 |
| Then Put them on a cookie sheet in the oven at 225 degrees to sterilize them |
Next ...get your lids ready to sterilize....In a small saucepan boil some water and then turn it to simmering and add your lids (Do not boil your lids)
You will also need to put your rings in some hot soapy water and get your other supplies gathered
You will need a food funnel, a jar lifter, a ring lifter (my hubby made mine) and some vinegar in a bowl to wipe around the tops of the jars so that the lids will seal better.
The All American has a pressure gauge and the lid screws down so it makes it impossible to blow up on you... I used to be terrified of my canner blowing up so that's why I love this one. I also like my presto because you don't have to keep as close of an eye on it because it has the rocker instead of a pressure gauge. You will want to have your canner on the stove filled with 2 to 3 quarts of water getting hot while you are packing your jars. You don't want the water to go up no more than half way up on your jars... if it does then you will need to dip some of the water out.
Next get a sterilized jar from the oven and pour the food through the funnel so that it doesn't get on the tops of your jars and I filled it to 1 inch from the top.
After you have filled your jars then take a wooden spoon and stick down in and get the air bubbles out
After that you will need to wipe the tops of your jars with the vinegar...
Then put your lids on
Next add your rings and tighten them up pretty tight.
Next start filling the canner with your full jars of food.
After you have processed your chilli for 90 minutes quarts or 75 minutes pints let the cooker release it's pressure on it's own and then remove the lid. Then start removing your jars with the jar lifter onto a towel.
And now you have canned Chilli
After it has cooled...remove the rings and wipe clean and dry the jar. I then add the date and the contents of the food in the jar on top with a sharpie pen.
Subscribe to:
Posts (Atom)


